

Painting a wall with a roller is one of the easiest home improvement skills to learn, but beginners often run into the same problems: streaks, patchy coverage, splatter, and visible overlap lines. The good news is that these issues are usually caused by a few correctable habits, not lack of talent. If you choose the right roller, prepare the wall properly, and follow a simple rolling pattern that keeps the paint wet while you overlap, you can get a clean, even finish on your first try.
This beginner-focused guide walks you through the process step by step, including what to buy, how to load the roller, how to avoid common mistakes, and how to know when to apply the second coat. For roller options and configurations, you can view Nichiyo’s painting roller selection.
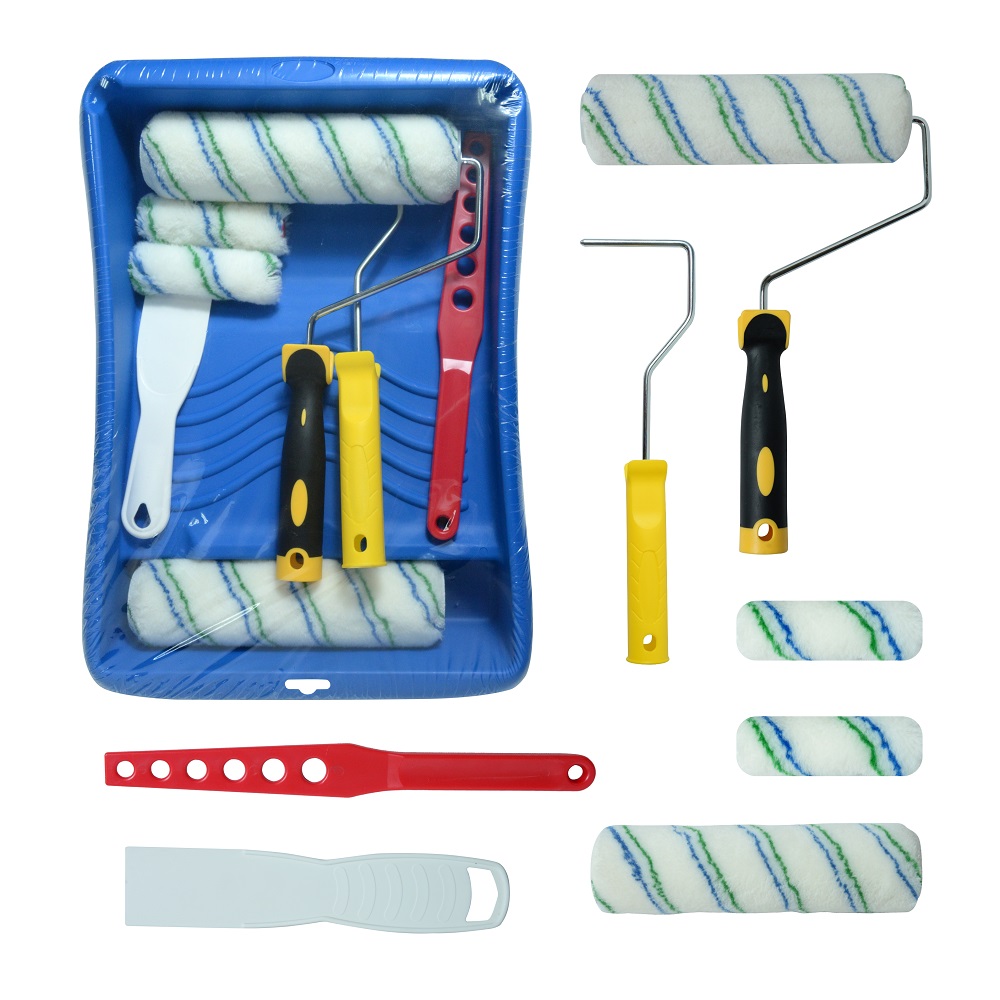
Choose Beginner-Friendly Tools And Roller Setup
Beginners get better results when the tools make paint application more forgiving. A stable roller setup helps you apply even pressure and cover large areas without fatigue.
Recommended starter tools:
- Roller frame that fits standard roller covers
- Extension pole to keep pressure consistent from floor to ceiling
- Paint tray for small rooms or a bucket with roller grid for faster loading
- Angled brush for corners and edges
- Painter’s tape for trim protection if you are not confident cutting in
- Drop cloth to protect floors
Roller cover basics for beginners:
- Short nap works best for smooth walls because it reduces heavy texture and splatter.
- Medium nap is better for light texture because it fills tiny grooves more easily.
- Avoid using a worn or low-quality cover, because lint and uneven paint release are common beginner problems.
If you want a simple place to start, choose one roller nap based on your wall texture and keep it consistent across the room so the finish looks uniform.
Prepare The Room And Wall The Simple Way
Preparation is where beginners gain the biggest advantage. A few basic steps prevent paint from highlighting wall flaws and reduce the chance of peeling.
Room preparation:
- Remove wall plates, hooks, and anything attached to the wall.
- Move furniture away from the wall line and cover it.
- Lay down a drop cloth and secure the edges so it does not slide.
- Tape trim and baseboards if you want an easier cleanup.
Wall preparation:
- Wipe the wall with a damp cloth to remove dust and grease. Kitchens and hallways usually need more cleaning.
- Fill holes and cracks, then sand until the repair feels smooth.
- Remove sanding dust so it does not turn into bumps in your paint.
- Spot-prime patched areas to prevent them from absorbing paint differently than the rest of the wall.
A beginner mistake is skipping primer on repairs. Even if the wall looks fine, unprimed patches often show as dull or shiny spots after the paint dries.
Learn How To Load A Roller Without Making A Mess
Most streaks and splatter happen because the roller is either overloaded or too dry. The goal is a roller that is evenly saturated but not dripping.
How to load the roller using a tray:
- Pour paint into the tray well, not all the way up the ramp.
- Dip the roller into the paint, then roll it on the ramp several times.
- Keep rolling until the roller looks evenly coated around the full surface.
- If paint is dripping, roll more on the ramp to remove the excess.
How to load using a bucket and grid:
- Dip the roller into the paint, then roll it up and down on the grid until evenly coated.
- This method often feels cleaner for beginners because the grid helps distribute paint more evenly.
Signs your roller is loaded correctly:
- The roller looks uniformly wet, not shiny with puddles.
- It does not drip when you lift it.
- It rolls smoothly on the wall without skipping.
If the roller starts to feel rough or makes a dry sound, reload before continuing. Dry rolling is a top reason beginners end up with dull patches and visible lines.
Roll The Wall In A Beginner-Proof Pattern
A simple pattern prevents harsh edges and keeps the paint blending smoothly.
Step-by-step rolling method:
-
Start with one wall at a time
Paint the wall in sections rather than jumping around the room. This keeps overlaps wet and reduces visible lap marks. -
Begin a section about the width of your shoulders
Place the roller on the wall slightly below the top edge so you do not fling paint upward. Then roll upward and downward to spread paint. -
Use a W pattern to distribute paint
Roll a large W shape in the section, then fill it in with vertical strokes. The W pattern spreads paint without leaving a heavy line at the start. -
Finish with light vertical strokes
After coverage looks even, make a few gentle vertical passes from top to bottom. This is called laying off, and it helps reduce roller lines. -
Overlap the next section while the edge is still wet
Move to the next section and overlap the previous area slightly. This is how you avoid lap marks.
Pressure rules for beginners:
- Use light, steady pressure. Pressing harder does not make coverage better, it increases texture and creates ridges.
- Let the roller do the work. If coverage looks thin, reload and apply another pass rather than pressing.
If you see a thick line forming at the edge of a section, your roller may be too wet or you may be stopping too long in one place. Keep moving and blend the edge while it is still wet.
Handle Corners And Edges Without Stress
Beginners usually struggle most at ceilings, corners, and trim edges. The easiest approach is to create a neat border with a brush, then roll into it.
Simple edge strategy:
- Brush paint along the ceiling line, corners, and trim edge in a band wide enough for the roller to overlap slightly.
- Do this for one wall at a time so the brushed paint stays wet.
- Roll the wall and blend into the brushed edge before it dries.
If you use painter’s tape:
- Press the tape edges firmly.
- Remove tape while the paint is slightly wet so it does not tear the dried paint film.
- Do not depend on tape alone for perfect lines. A careful brush pass still improves results.
Cutting in is easier with moderate paint on the brush. Too much paint leads to drips that are harder to fix than a slightly imperfect line.
Know When To Apply A Second Coat And How To Avoid Streaks
Most walls need two coats for uniform color and sheen, especially when covering a darker color or repainting over repairs.
When you likely need a second coat:
- The previous color shows through anywhere.
- The wall looks uneven in certain angles or lighting.
- You can see roller lap marks or dry patches after the first coat dries.
How to make the second coat easier:
- Let the first coat dry fully based on paint instructions.
- Lightly scrape or sand any drips or bumps, then wipe off dust.
- Use the same roller pattern and work in the same direction for consistency.
- Maintain a wet edge again. Overlapping while wet is the beginner’s secret to a smooth finish.
If the first coat looks streaky while it is still wet, do not panic. Many streaks disappear as the paint levels. The real test is after full drying.
Beginner Troubleshooting Table
| Problem | What It Looks Like | Most Common Beginner Cause | Fix |
|---|---|---|---|
| Splatter everywhere | Dots on trim and floor | Roller overloaded or pressed too hard | Roll off excess, use lighter pressure, slow strokes |
| Lap marks | Dark bands at overlaps | Edge dried before overlap | Paint smaller sections, overlap sooner, keep wet edge |
| Patchy coverage | Thin, see-through spots | Dry roller or skipping primer | Reload sooner, apply second coat, prime repairs |
| Roller lines | Raised ridges | Uneven loading or pushing paint | Load evenly, lay off lightly, avoid pressing |
| Lint in finish | Fibers stuck in paint | Low-quality cover or dusty wall | Use quality cover, prep wall, remove lint before use |
| Drips and runs | Vertical drips | Too much paint near edges | Smooth immediately, reduce loading, brush out drips |
Use this table while painting. Fixing problems early is easier than trying to hide them after the wall dries.
Why Roller Quality Matters For First-Time Results
Beginners often assume technique is the only factor, but roller quality has a direct impact on how forgiving the job feels. A stable roller cover that picks up paint consistently and releases it evenly helps you avoid dry patches, reduces lint, and makes overlapping easier. For repeated painting jobs or supply programs, choosing the right roller cover and matching it to wall texture reduces labor time and minimizes rework.
Nichiyo provides painting roller solutions designed for smooth pickup and consistent paint release, and we can support selection guidance based on your wall surface and coating type.
Conclusion
To paint a wall with a roller as a beginner, keep the process simple: prep the wall, choose the right roller nap for the wall texture, load the roller evenly, paint one wall at a time in manageable sections, and overlap while the paint is still wet. Use light pressure, finish each section with gentle vertical strokes, and apply a second coat after full drying for uniform color and sheen. This method prevents the most common beginner issues and delivers a clean, professional-looking finish.
If you are unsure which roller cover is best for your wall texture or you need a customized roller option for your product plan, contact Nichiyo. Share your paint type, surface condition, and target finish, and we can provide practical guidance and customization support based on our painting roller range.