

Painting a wall with a roller is the fastest way to get a smooth, consistent finish on large surfaces. But the quality difference between a professional-looking wall and a streaky, patchy one usually comes down to preparation, correct roller selection, paint loading technique, and working in a consistent pattern that maintains a “wet edge.” When these steps are controlled, a roller can deliver even coverage, clean texture, and efficient productivity on residential, commercial, and project-scale jobs.
This guide explains the full process from surface prep to final touch-ups, with practical techniques that reduce lap marks, roller lines, and splatter. For roller options and configurations, you can review Nichiyo’s painting roller solutions.
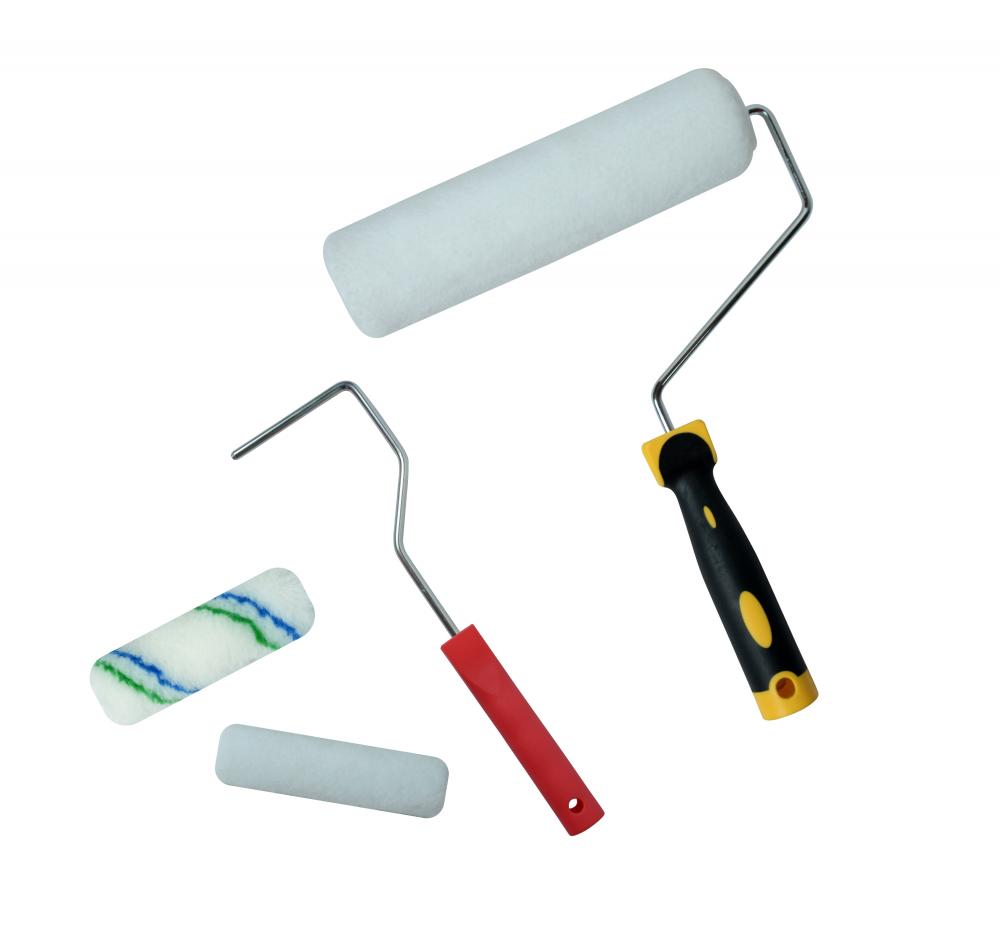
Choose The Right Roller For The Wall And Paint Type
The roller cover you choose determines texture, coverage rate, and how easily you can avoid streaks. The correct nap length depends on how smooth or rough your wall is.
General selection guidance:
- Smooth walls and ceilings usually perform best with a shorter nap to reduce stipple and lint.
- Lightly textured drywall needs a medium nap to reach micro texture and cover efficiently.
- Heavy texture, masonry, or brick needs a longer nap to push paint into low areas.
The roller material also matters:
- Microfiber covers hold paint well and release it evenly, often producing a consistent finish.
- Woven covers can be durable for repeated use and thicker coatings.
- Foam rollers can deliver very smooth finishes on doors and trim, but they are less forgiving on large walls and can show lines if overloaded or used with thicker paints.
If you are managing a multi-room job or a contractor supply program, standardizing roller sizes and nap options improves finish consistency and reduces rework.
Prepare The Room And Surface For Clean Results
Painting success starts before paint touches the wall. Prep reduces visible defects and prevents paint failure like peeling or flashing.
Room preparation steps:
- Remove wall plates, hooks, and furniture from the wall line.
- Cover floors with a drop cloth and tape edges where needed.
- Protect trim and baseboards with painter’s tape if cutting in will be challenging.
Surface preparation steps:
- Clean the wall surface to remove dust, oils, and residue. Kitchens and high-touch areas need extra attention.
- Repair holes and cracks with filler, then sand smooth.
- Remove sanding dust with a dry cloth or vacuum attachment.
- Spot-prime repairs so the finish coat absorbs evenly.
- If the wall has stains, use the correct primer so stains do not bleed through.
A key detail is drying time. Repairs and primers must dry fully before rolling paint, or you can trap moisture and create uneven sheen.
Set Up Paint And Tools For Efficient Rolling
A stable setup reduces fatigue and prevents inconsistent loading.
Recommended tools:
- Roller frame and roller cover
- Extension pole for steady pressure and reach
- Paint tray or bucket with roller grid for larger jobs
- Angled brush for cutting in edges and corners
- Stir stick and paint can opener
- Clean rags for drips and edge control
Paint handling:
- Stir paint thoroughly from the bottom to distribute pigments and additives evenly.
- Pour only the amount you need into a tray or bucket to reduce contamination.
- Keep the paint container covered when not in use to prevent skinning and thickening.
If you are painting multiple walls, a bucket and roller grid often improves workflow and provides more consistent paint loading than a shallow tray.
Cut In Edges Before Rolling For A Seamless Finish
Cutting in means painting edges and corners with a brush before rolling the main wall. This prevents gaps where a roller cannot reach and improves the final look.
Effective cut-in technique:
- Use an angled brush and load it moderately so paint does not drip.
- Paint a clean border along ceiling lines, corners, trim edges, and around outlets.
- Keep the cut-in band wide enough so the roller can overlap it slightly, usually several centimeters.
- Do not cut in the entire room at once if the paint dries quickly. Paint one wall section at a time so the roller can blend into the wet cut-in paint.
Matching the cut-in paint thickness to the rolled paint thickness helps prevent a visible “frame” effect where edges dry differently.
Load The Roller Correctly To Avoid Drips And Streaks
Correct roller loading is one of the most important skills for even coverage.
How to load:
- Dip the roller cover into paint and roll it on the tray ramp or bucket grid to distribute paint evenly.
- The roller should be saturated but not dripping.
- Avoid pressing hard to squeeze paint out. Pressing creates splatter and uneven texture.
- Reload before the roller becomes too dry. Dry rolling is a common cause of lap marks and visible lines.
A good rule is that the roller should feel smoothly lubricated with paint. If it starts to sound dry or drag, reload.
Roll In A Consistent Pattern And Maintain A Wet Edge
Professional results come from steady, repeatable movement and keeping a wet edge, meaning you always roll into paint that is still wet so the overlap blends invisibly.
Step-by-step rolling method:
- Start near a corner and roll a vertical section about the width of a comfortable arm span.
- Use a “W” or “M” pattern to distribute paint across the area without leaving heavy deposits.
- Fill in the pattern with parallel vertical strokes from top to bottom.
- Lightly “lay off” with gentle, long strokes in one direction to reduce roller marks.
- Move to the next section and overlap the previous area slightly while it is still wet.
Pressure control:
- Use light, even pressure. Heavy pressure forces paint off the roller unevenly and causes ridges.
- Let the paint do the work. A properly loaded roller with correct technique spreads evenly without force.
Edge blending:
- Always overlap into the cut-in edge while it is still wet.
- Avoid stopping in the middle of a wall. Plan breaks at natural boundaries such as corners or trim lines.
Apply Second Coat And Control Drying Conditions
Most walls need at least two coats for even color and uniform sheen, especially when changing colors or covering patched areas.
Second coat best practices:
- Let the first coat dry fully according to the paint instructions.
- Inspect for thin spots, drips, and debris. Sand lightly if needed and remove dust.
- Repeat the same rolling pattern for consistency.
- Keep room conditions stable. Extreme heat or airflow can dry paint too fast and increase lap marks.
If you are painting in a large space, plan your workflow so you can complete full wall sections without long pauses, because uneven drying is a major cause of visible overlap lines.
Troubleshooting Common Roller Painting Problems
Many finish issues have simple causes and predictable fixes.
| Problem | What You See | Most Likely Cause | Fix |
|---|---|---|---|
| Lap marks | Dark bands or overlap lines | Paint drying before overlap | Work in smaller sections, maintain wet edge |
| Roller lines | Raised ridges or stripes | Over-pressing or uneven loading | Reduce pressure, load evenly, lay off lightly |
| Splatter | Dots on trim and floor | Roller overloaded or pressed hard | Roll off excess, lighten pressure, use slower strokes |
| Patchy sheen | Areas look dull or shiny | Uneven absorption or missed primer | Spot-prime repairs, apply uniform second coat |
| Lint in paint | Fibers stuck in finish | Low-quality cover or not prepped | Use quality cover, remove lint before use |
| Poor coverage | Color shows through | Paint spread too thin | Reload more often, apply second coat properly |
If you see problems during painting, do not keep rolling a drying section. Let it dry, correct the issue, then recoat. Overworking semi-dry paint increases texture and marks.
Why Roller Quality Matters For Project Consistency
For professional use, roller performance affects labor time, paint consumption, and rework risk. A cover that releases paint evenly helps achieve consistent texture across walls, especially in project environments where different painters may work on the same site. Choosing reliable roller covers and maintaining consistent loading technique reduces visible variation and improves the final finish.
Nichiyo provides painting roller solutions designed for stable paint pickup and even release, and we can support specification-based selection for different wall textures, paint types, and jobsite workflows.
Conclusion
To paint a wall with a roller successfully, prepare the surface carefully, choose the right roller nap for the wall texture, cut in edges in manageable sections, load the roller evenly, and roll in a consistent pattern that maintains a wet edge. Use light, controlled pressure and apply a second coat for uniform color and sheen. This process reduces lap marks, roller lines, and splatter, delivering a clean finish with efficient productivity.
If you need guidance on selecting roller covers for different wall textures or want a customized roller specification for your product program, contact Nichiyo. Share your paint type, wall texture, target finish, and expected usage volume, and we can recommend options from our painting roller range and support customization based on your requirements.