

Cleaning brushes used with oil based paints is less about scrubbing harder and more about dissolving paint safely, then restoring the bristles so they keep their shape. Oil paints and oil-based coatings dry by oxidation and polymerization, which means they become increasingly resistant to water and mild soaps as time passes. If you clean the brush properly right after painting, you can extend brush life dramatically, maintain a sharper tip or edge, and avoid sticky bristles that shed or splay.
This guide walks through a practical, repeatable method for cleaning oil-paint brushes, including solvent handling, final washing, drying, and storage. It is also written for users who rely on quality tools such as Nichiyo art brushes and want to keep them performing consistently over many painting cycles.
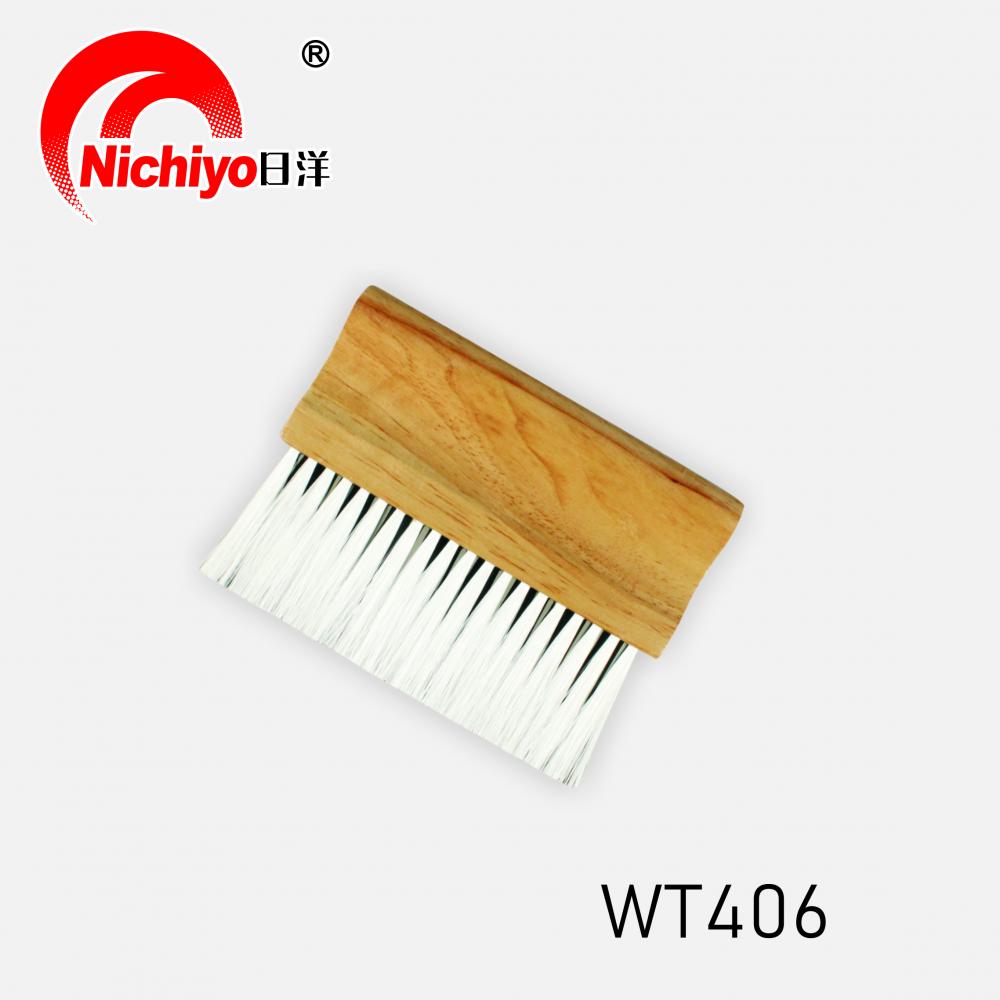
1. What Makes Oil Based Paint Harder to Clean
Oil based paints do not rinse out with water because the binder is oil or alkyd resin rather than water-soluble polymers. The paint clings to bristles and begins to set from the outside inward. Once paint starts curing inside the ferrule area, it becomes very difficult to remove and can permanently force the bristles apart.
A second challenge is that oil paint often contains pigments and resins that “pack” into the brush base. The most damaging cleaning mistake is allowing paint to dry near the ferrule while only cleaning the tips. Even if the bristle ends look clean, trapped paint at the base will harden and reduce the brush’s flexibility and shape control. Proper cleaning must therefore focus on flushing paint out of the full bristle length, not just the visible area.
2. What You Need Before You Start Cleaning
Cleaning oil-paint brushes requires a solvent stage, followed by a soap-and-water stage. The solvent does the dissolving, while soap and warm water remove remaining residue and restore the brush feel.
Prepare a simple setup that helps you work cleanly:
- A container for initial paint wipe-off
- Absorbent paper or cloth for removing excess paint
- A suitable solvent such as mineral spirits or a paint thinner designed for oil paint cleanup
- Mild soap or brush cleaner and warm water
- A second container for “rinse” solvent
- A comb or your fingers for gentle bristle alignment
Using two solvent containers is not a luxury. The first gets dirty fast; the second improves final flushing. This approach reduces how much solvent you use overall while still cleaning effectively.
3. Step-by-Step: A Reliable Cleaning Process That Protects Bristles
Start by removing as much paint as possible before solvent touches the brush. Wipe the brush on a rag, pressing gently from ferrule toward tip. This step matters because it prevents the solvent from becoming saturated immediately. Once the brush no longer releases heavy paint, move to the first solvent container.
Swish the brush in solvent while keeping the ferrule area from soaking longer than necessary. Work the bristles against the side of the container gently to encourage paint to release. Lift and wipe again. Repeat until the solvent stays relatively clear after agitation. Then move to the second solvent container for a cleaner rinse stage. This second stage helps flush the last traces of pigment and binder out of the bristle base.
After solvent, wash with soap and warm water. The goal is to remove remaining oily residue that can leave bristles stiff after drying. Work soap through the bristles from base to tip, rinse, and repeat until the rinse water runs clear and the bristles feel clean rather than slick. Finally, reshape the bristles and remove excess water by blotting, not twisting.
4. Solvent Choice, Safety, and Disposal
Solvent choice affects both cleaning power and bristle health. Many people default to strong thinners, but aggressive solvents can dry natural bristles and weaken adhesives inside the ferrule. Mineral spirits are commonly used because they dissolve oil paint effectively while being less harsh than some alternatives.
A practical comparison is shown below:
| Cleaning Stage | Common Option | Purpose | Practical Note |
|---|---|---|---|
| Paint removal | Rag / paper | Reduce paint load | Saves solvent and time |
| Main dissolve | Mineral spirits | Break down oil binder | Effective for most oil paints |
| Final wash | Soap + warm water | Remove oily residue | Prevents stiff drying |
Solvent safety matters. Work in a ventilated area, avoid open flames, and keep containers closed when not in use. Let used solvent settle so pigment sinks, then pour off the clearer portion for reuse when appropriate. Dispose of sludge and contaminated rags responsibly according to local guidelines. Rags with oil paint or solvent can be a fire risk if stored improperly, so they should be laid flat to dry in a safe area or stored in a sealed metal container if required by your workflow.
5. Common Cleaning Mistakes That Ruin Oil Paint Brushes
Brush damage often happens during cleaning, not during painting. The most common mistake is leaving the brush standing bristles-down in solvent. This bends the tips, swells some materials, and can loosen the ferrule bond. Another mistake is soaking too long, especially with strong solvent, which can dry out or weaken bristles and adhesives.
Other frequent issues include:
- Cleaning only the bristle tips while paint remains near the ferrule
- Scrubbing aggressively against rough surfaces, which breaks bristles
- Using very hot water after solvent, which can affect ferrule integrity
- Storing brushes wet or upright without reshaping, leading to splaying
If you want brushes to keep a crisp edge or point, cleaning must include reshaping. Gently align bristles after washing, then dry the brush in a position that allows moisture to drain away from the ferrule area rather than into it.
6. Keeping Brushes Ready for the Next Project
After cleaning, drying and storage determine whether the brush remains usable long-term. Blot the brush with a towel, reshape it carefully, and let it air dry fully. If your brush came with a protective sleeve, you can use it after the brush is dry to help preserve shape. Avoid sealing a damp brush in a closed tube or sleeve, because trapped moisture can weaken the ferrule bond and cause odor or mildew in some bristle types.
For users working on art, decorative finishing, or detailed coating tasks, maintaining brush performance is part of maintaining finish quality. Tools such as Nichiyo art brushes are typically chosen for control and bristle behavior, so cleaning that preserves flexibility and shape helps protect the investment and keeps strokes consistent across repeated sessions. A repeatable cleaning routine also reduces variability, which is especially helpful when you need the same brush response across multiple days of work.
Conclusion
To clean paint brushes used with oil based paints, remove excess paint first, dissolve the remaining binder with an appropriate solvent, then wash with soap and warm water to eliminate oily residue. Avoid long soaking, protect the ferrule area, and reshape bristles before drying so the brush retains its point and spring. With consistent cleaning, oil paint brushes can stay reliable for many cycles, delivering smoother application, better control, and more consistent finishing results on future projects.